
Tie-dye is the ultimate blend of creativity and fun! Whether you want to give your old t-shirts a fresh, psychedelic makeover or add some color to accessories like tote bags and socks, tie-dyeing is a perfect DIY project. With just a few simple techniques, you can create one-of-a-kind pieces that showcase your unique style. Let’s dive into the world of tie-dye and explore different methods to get those eye-catching swirls, spirals, and bursts of color!
What You’ll Need
Before you start, gather these supplies:
✔ 100% Cotton Clothing or Accessories (T-shirts, hoodies, socks, bandanas, tote bags, etc.)
✔ Tie-Dye Kit or Fabric Dyes (Available in craft stores or online)
✔ Rubber Bands (For sectioning off fabric)
✔ Gloves (Unless you want colorful hands for a few days!)
✔ Plastic Bags or Wrap (To let the dye set)
✔ Squeeze Bottles or Spray Bottles (For applying dye)
✔ Water & Soda Ash (Helps the fabric absorb dye better)
Step 1: Prepping Your Fabric
- Wash First: Start with clean, damp fabric to help the dye spread evenly.
- Soak in Soda Ash (Optional): For brighter, longer-lasting colors, soak your fabric in a soda ash solution (1 cup soda ash per gallon of warm water) for 15-30 minutes.
- Wring Out Excess Water: The fabric should be damp but not dripping wet before applying dye.
Step 2: Choosing a Tie-Dye Technique
Now for the fun part! Different folding and tying methods create different patterns. Here are some classic techniques to try:
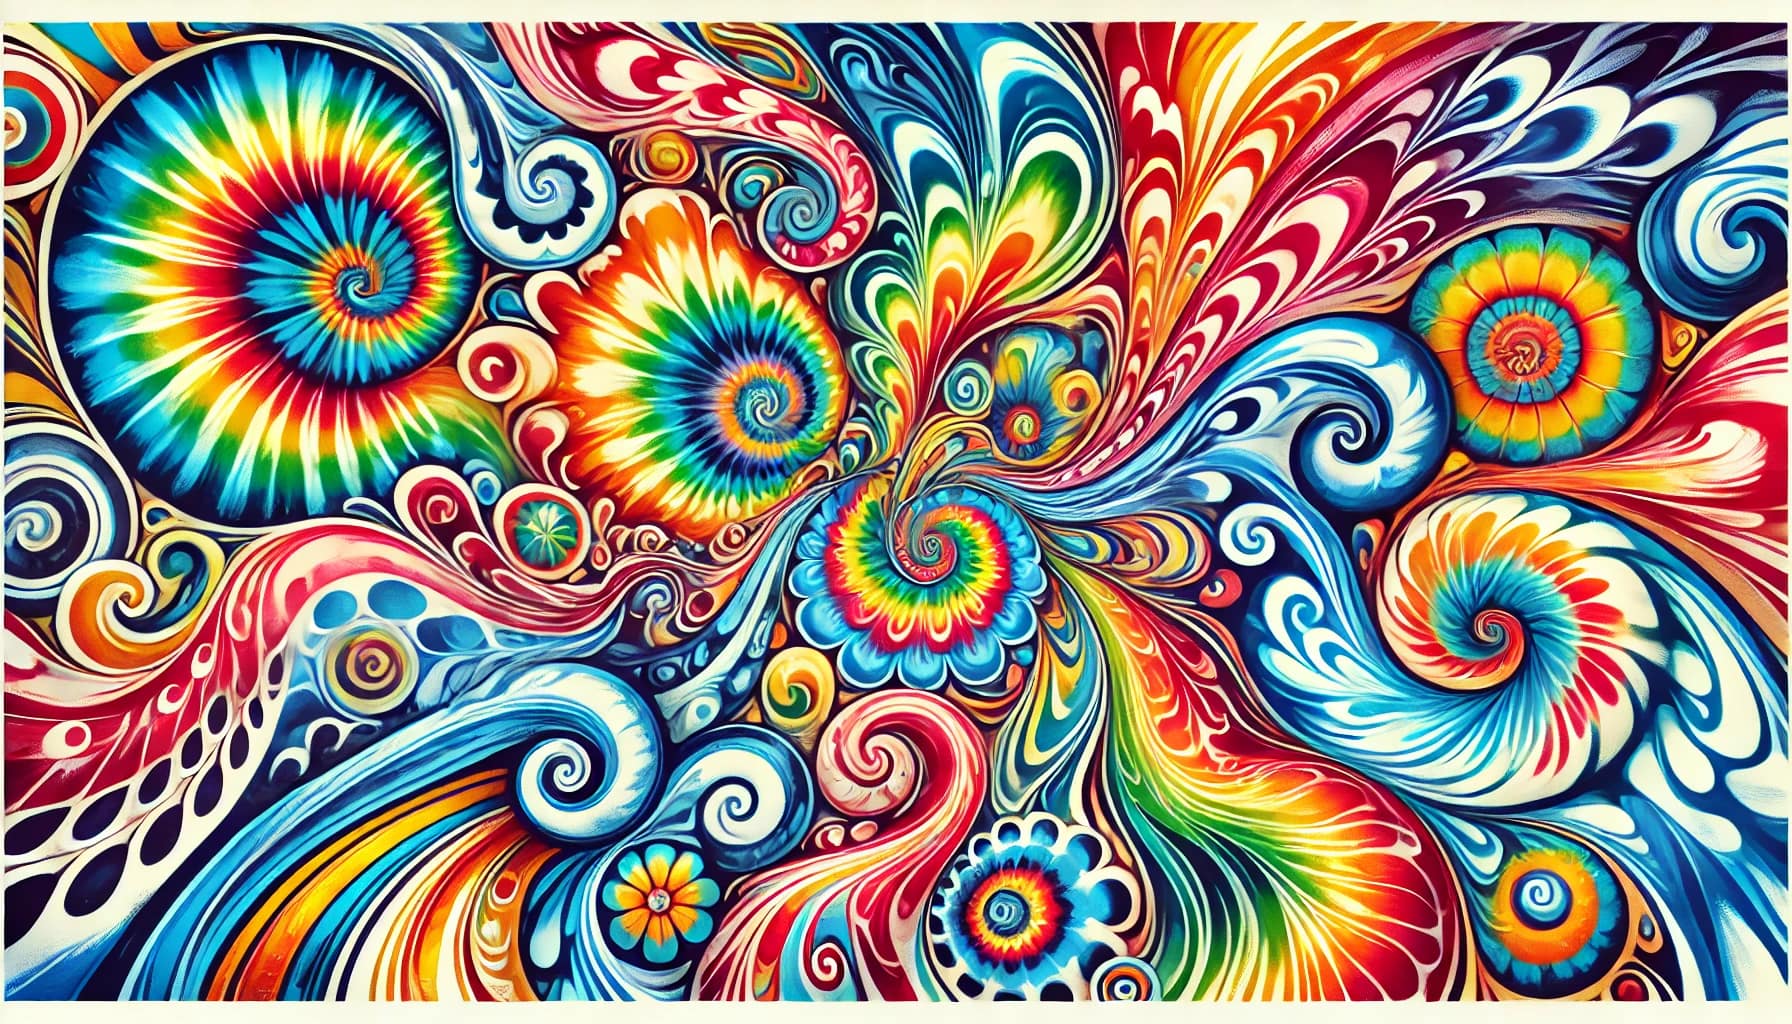
🎨 1. Spiral (Classic Swirl)
- Lay the fabric flat and pinch the center.
- Twist in a circular motion until the entire fabric is spiraled.
- Secure with rubber bands to create sections (like a pizza).
- Apply different colors to each section for a rainbow swirl.
🌊 2. Crumple (Watercolor Effect)
- Scrunch the fabric randomly into a loose ball.
- Secure with rubber bands to hold the shape.
- Apply dye freely for a soft, abstract pattern.
🦋 3. Bullseye (Target Design)
- Pinch the fabric at the center and pull it upwards.
- Secure rubber bands at different intervals down the length.
- Apply different colors between the bands for a layered effect.
💎 4. Accordion (Stripes)
- Fold the fabric like an accordion (back and forth in even pleats).
- Wrap rubber bands tightly along the folded length.
- Apply dye in sections for a striped effect.
☮ 5. Heart or Custom Shapes
- Fold the fabric in half.
- Draw half a heart shape with chalk.
- Pleat along the drawn line and secure with rubber bands.
- Apply dye carefully to highlight the shape.
Step 3: Applying the Dye
- Use squeeze bottles or spray bottles to apply dye directly to your fabric.
- Flip and repeat to make sure the back is as colorful as the front.
- Mix and match colors to create cool gradient effects or contrast.
- Leave some white space for a more dramatic look, or saturate every inch for full coverage.
Step 4: Letting It Set & Rinsing
- Wrap it up: Cover your tie-dye creation in plastic wrap or seal it in a plastic bag.
- Let it sit: Leave it for 6-24 hours (the longer, the deeper the colors).
- Rinse properly: Remove rubber bands and rinse under cold water until the water runs clear.
- Wash separately: Machine wash in cold water on a gentle cycle before wearing.
Bonus Tips for the Best Tie-Dye Results
✨ Go Bold: The more dye you use, the more vibrant the result.
🎭 Wear Gloves: Unless you want tie-dye hands!
🎨 Experiment: Try color layering, ombré effects, or even ice dyeing for unique results.
🌀 Have Fun: No two tie-dye designs are the same, so embrace the unexpected!
Tie-dyeing is an easy and creative way to add some personality to your wardrobe. Whether you’re rocking a trippy spiral tee, a funky crumpled hoodie, or a DIY tote bag, each piece is a work of art. So grab some dye, get messy, and let your creativity flow—Tore Funy style! 🌈🔥